Installation Instructions
Check back here as we continue to develop our installation instructions. We hope to offer visual step-by-step instructions for all products soon. If you have any questions, please do not hesitate to contact us.
Faqs
Interior
Microphone Mount
With the dash panel off and wire routed safely away from pinch hazards, clean the area you would like to mount it with window cleaner or similar. Snap the microphone into the mount and rotate the peg into the void. Peel off the PSA tape film and position the mount where you would like the mic, with the mic opening facing the driver position. Press firmly on the mount for 10 seconds to activate the PSA tape.
Speaker Grill Spacers
Remove and discard the three screws holding the factory sound-bar speaker grill in place. Firmly press a spacer over each of the three stand-off risers on the grill, they are a slight press fit and do not require any adhesive. Align the grill over the factory mounting locations and reinstall using the provided longer screws.
RAM Mount Post
Remove the upper bolt joining the A-pillar to the windshield frame on either the driver or passenger side. Insert the supplied M8 bolt through the RAM mount and install with a final torque of 5-6nm/44-53in.lb.
Exterior
JL & JT Mirrors

Magnetic Rail Caps
These are a quick tool-free install. Simply line up the squared end with the cab side of the body rail, stick the magnet down a couple inches at a time using your other hand along the inside of the rail to keep it flush. Adjustments are easy to make.
Fairlead Block-Off
Using a socket head 1/2"-13 bolt and nut, line up the fairlead block-off over your bumper holes. Insert the hardware and snug them in place. If you are not using a lock-nut, apply Loctite 243 Blue to the first few threads of the bolt.
Vacuum Pump Cover
You will need access to the vacuum pump; if you have a bull bar/stinger that is blocking access that may need removed. Once you have access to the vacuum pump simply remove the two screws or nuts (depending on model year) mounting the vacuum pump, place the cover over top, and reinstall the fasteners. These just need to be snug tight, there are rubber isolators mounting the pump to the frame.
Under the Hood
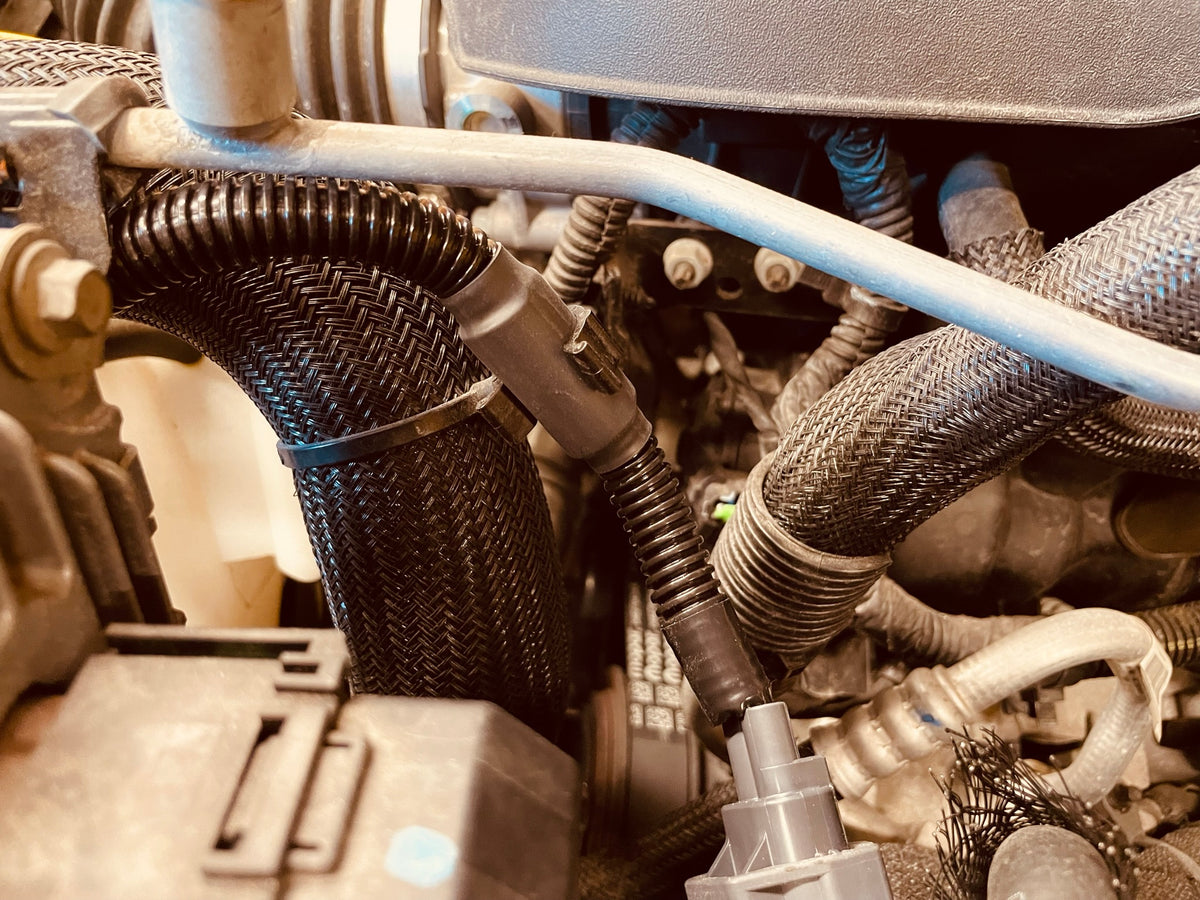
Vacuum Pump Relocation
General instructions are:
- Disconnect the vacuum pump vacuum lines
- Disconnect the vacuum pump plug
- Locate and remove the vacuum pump from the frame
- Disconnect the vacuum line where it meets a coupler under the hood near the ECU (not the Tee near the manifold)
- Pop off the plastic clips holding the vacuum line to the chassis going downward near the radiator
- Remove all contents of the vacuum pump and disconnected vacuum lines from the Jeep
- Remove the pump fitting and check valve (note the orientation of the arrow!!) from the original hose
- Install the fitting and the check valve to the supplied vacuum hose and to your vacuum pump
- Install the pump onto the mount plate with the printed cap over top using the supplied fasteners
- Connect the check valve to the coupler you removed the original vacuum line to previously
- Connect the supplied extension harness to the vacuum pump plug
- Remove the two fender mount bolts and install the mount plate to the fender reusing the two factory bolts
- Route the harness along the same path the original vacuum line went down alongside the radiator
- Clip the harness into the factory clips where the vacuum line was removed from
- With the harness down near the original pump location, plug it into the factory harness plug
- The pump is now elevated at or higher than the original small vacuum line and the small vacuum line is no longer needed
Please contact us if you have specific installation instructions. We are working to provide a more visual step-by-step instruction packet for this product.